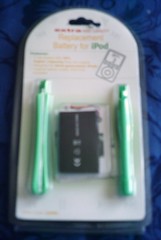
The 3rd gen replacement Li-ion pack from Maplin, bought for a mere £19.99, still in its packaging. The green stick-y blobs to each side of the black battery are plastic tools for levering open the ipod case. Before breaking the seal, and rendering the pack unreturnable, I tried resetting the ipod to factory setting (toggle Hold switch and then hold Menu and Play for 5-10 seconds) and installing the latest firmware updates, but this had absolutely no impact on the battery times. I was convinced the battery was dead.
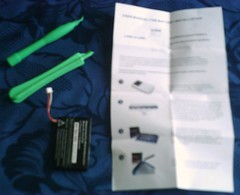
Having tried the non-invasive methods without fixing the problem, I unpacked the battery kit to start the tricky process of hacking into the ipod case. The two tools provided can be clearly seen - 1 thin delicate tool for the first 'incision' and a bulkier wedge for hardcore levering action. The instructions come with fairly clear pictures, which is just as well, because the actual instructions are a little unclear in the specifics.
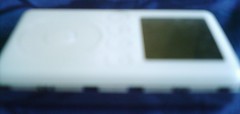
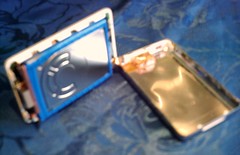
Getting the front cover open needs to be approached from the right side facing to avoid the audio ribbon cable. The Hold button should be in the 'hold' (red) position. The trick is to insert one tool about 2/3 of the way down, force open the bottom plate, and then slide the other tool all the way along the side to the top, which disengages the top clip and 2 or 3 of the others. Its then a trivial process to get the rest of the clips to detach. The 5 clips are all attached to the top (white) face and hook into rails on the bottom (metal) case.
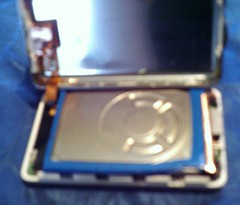
Gently tilting the front ipod cover on its face and lifting the aluminium back reveals the hard drive and the fragile audio ribbon. The instructions warn that the ribbon should not be detached, so there's quite a bit of awkwardness in handling both halves without damaging it, but it's a little more flexible than the instructions mention, and will take a little careful manipulation without breaking.
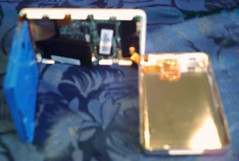
Standing the opened ipod on its side protects the audio ribbon and allows access to the hard drive for removal. The hard drive is encased in an absorptive rubber frame which adheres to it loosely, and should be kept with the hard drive and not removed any more than is absolutely necessary, as the fit is tricky.
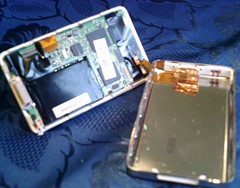
The hard drive can be lifted away from the circuit board and battery to reveal the (dead) battery. The copper connector links the hard drive to the circuit board via a connector and can be gently lifted away using the visible copper flap.
Once you've removed the old battery, the entire process operates easily in reverse: attach the new battery, dress the leads under the circuit board, replace the battery in the appropriate cell, reconnect the hard drive, bed it down on top of the battery, and replace the cover, which clips easily as long as the battery leads are properly dressed and the Hold switch is still on (red).
No comments:
Post a Comment